UDN
Search public documentation:
ImportingTextureTutorial
日本語訳
中国翻译
한국어
Interested in the Unreal Engine?
Visit the Unreal Technology site.
Looking for jobs and company info?
Check out the Epic games site.
Questions about support via UDN?
Contact the UDN Staff
中国翻译
한국어
Interested in the Unreal Engine?
Visit the Unreal Technology site.
Looking for jobs and company info?
Check out the Epic games site.
Questions about support via UDN?
Contact the UDN Staff
UE3 Home > Materials & Textures > Importing Texture Tutorial
UE3 Home > Texture Artist / Character Artist / Environment Artist > Importing Texture Tutorial
UE3 Home > Texture Artist / Character Artist / Environment Artist > Importing Texture Tutorial
Importing Texture Tutorial
Overview
Getting Content into the Engine
Importing Images - Textures
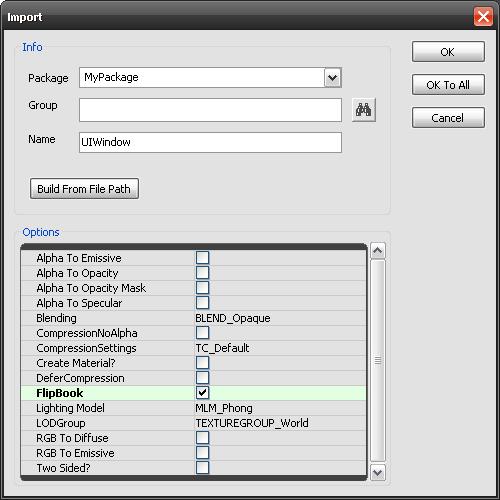
To import your image texture, go to the Content Browser's File menu and click Import. Find your file and click Open. A Generic Import window will open giving you several fields to fill in. Name your new package (by default named "MyPackage"). Fill in a Group and change the Name if desired.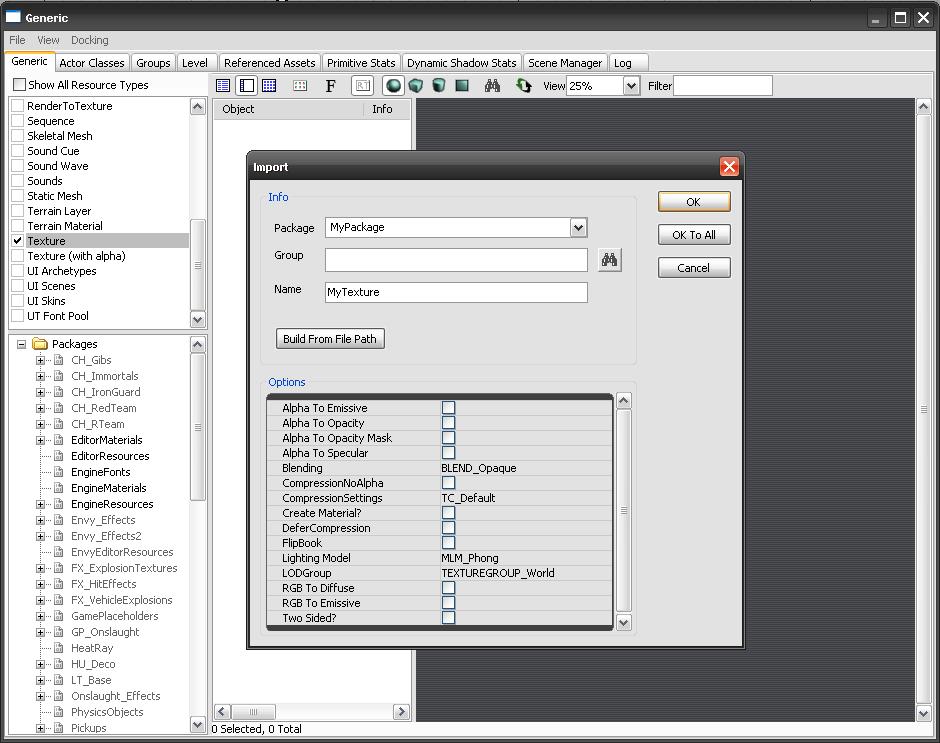 Groups are a convenient way to organize content within a package. You can create a group for each type of content, eg: "Meshes" and "Textures"; "Soldier1" and "Soldier2." You can also choose to leave the Group field blank and keep all your content together in the package.
The following Texture formats are supported:
Groups are a convenient way to organize content within a package. You can create a group for each type of content, eg: "Meshes" and "Textures"; "Soldier1" and "Soldier2." You can also choose to leave the Group field blank and keep all your content together in the package.
The following Texture formats are supported: - .bmp
- .pcx
- .tga
- .float
- .psd
Animating Images - Flipbook Textures
A Flipbook Texture is a series of images that are calculated as a single texture, thus allowing you to sample a variety of image series or animation in your materials. To create a Flipbook Texture, simply import multiple textures, and check the Flipbook property.