UDN
Search public documentation:
ParticleSpriteSubUVEmitterTutorial
日本語訳
中国翻译
한국어
Interested in the Unreal Engine?
Visit the Unreal Technology site.
Looking for jobs and company info?
Check out the Epic games site.
Questions about support via UDN?
Contact the UDN Staff
中国翻译
한국어
Interested in the Unreal Engine?
Visit the Unreal Technology site.
Looking for jobs and company info?
Check out the Epic games site.
Questions about support via UDN?
Contact the UDN Staff
UE3 Home > Particle & Effects > Particles Systems > Particles SubUV Tutorial
UE3 Home > FX Artist > Particles SubUV Tutorial
UE3 Home > FX Artist > Particles SubUV Tutorial
Particles SubUV Tutorial
Overview
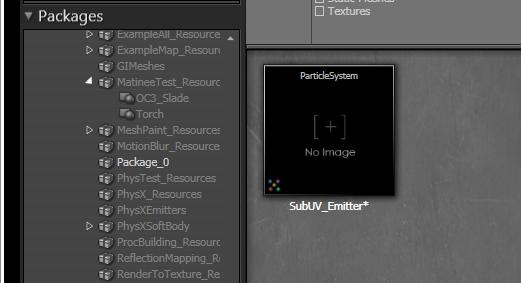
Create a new ParticleSystem
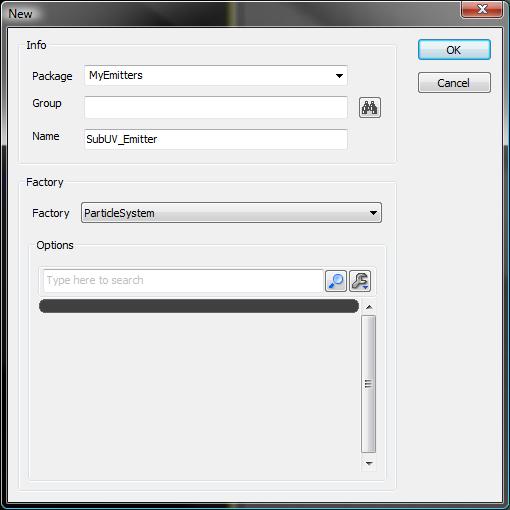 Enter the following information:
| Package | MyEmitters |
| Group | |
| Name | SubUV_Emitter |
| Factory | should be on ParticleSystem |
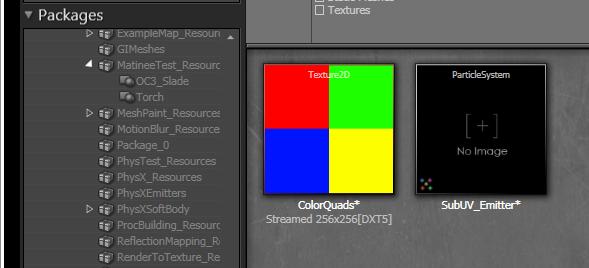
Import a Texture
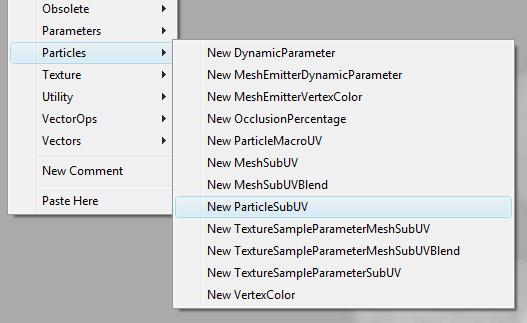
Create a ParticleSubUV Material
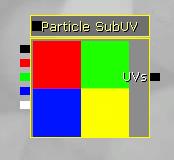
 The following material expression widget will appear in the editor:
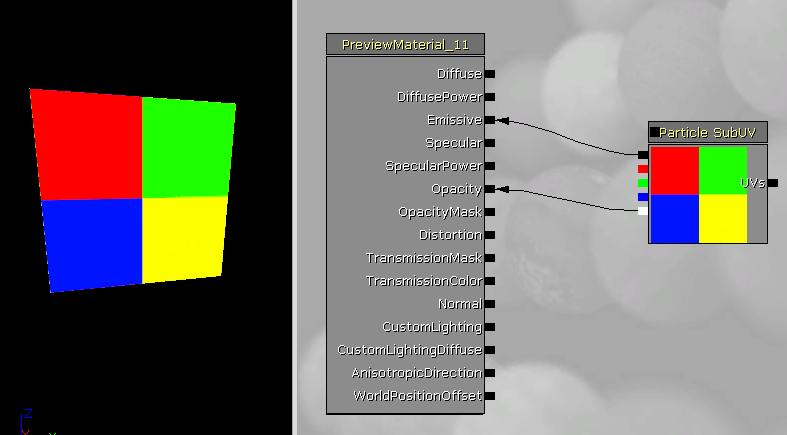
 The next step is to `hook-up' the SubUV expression to the output of the material. In this simple case, just run the RGB output to the Emissive input, and the Alpha output to the Opacity, as shown below:
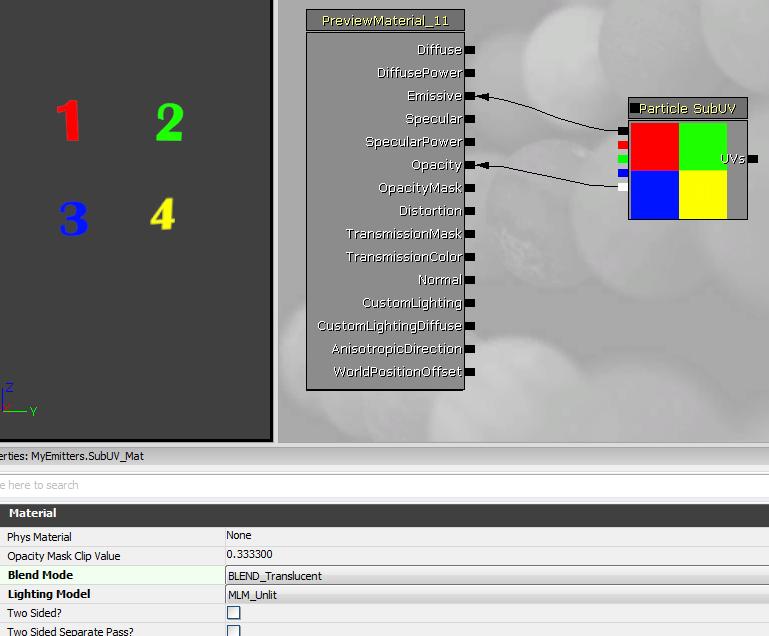
 If desired, the blend mode of the material can be set according to how you want the particles to be drawn. In this case, we will use "BLEND_Translucent", so select it as shown in the screen shot below:
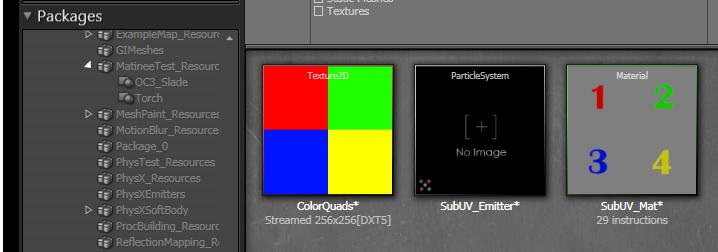
The View So Far
Create the Particle SubUV Emitter
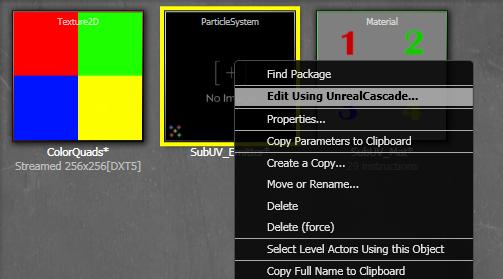 Once Cascade opens, select the SubUV_Mat in the Content Broswer and right-click the `emitter bar' and select "New ParticleSpriteEmitter" as shown below:
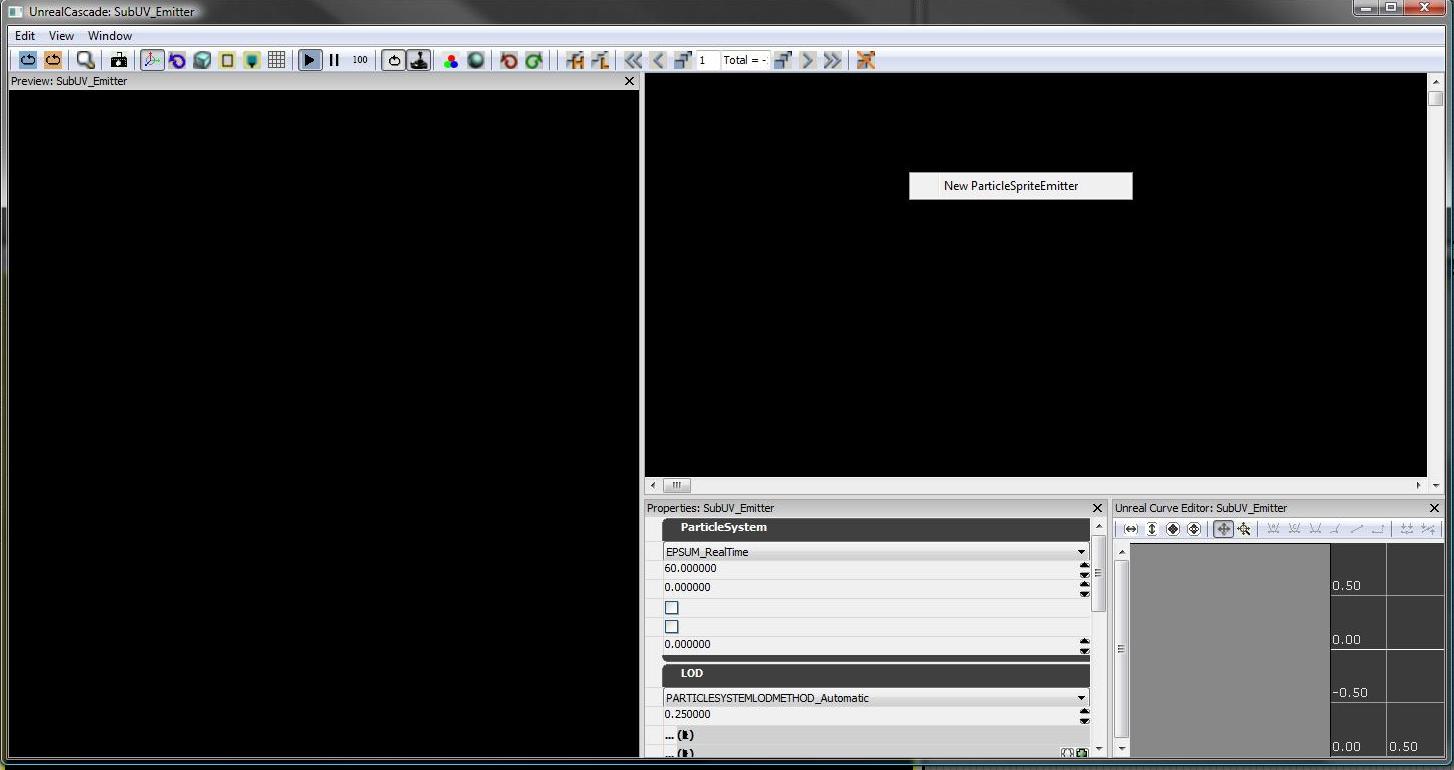 At this point, you should see the following view in Cascade, showing the newly created Emitter in the preview window:
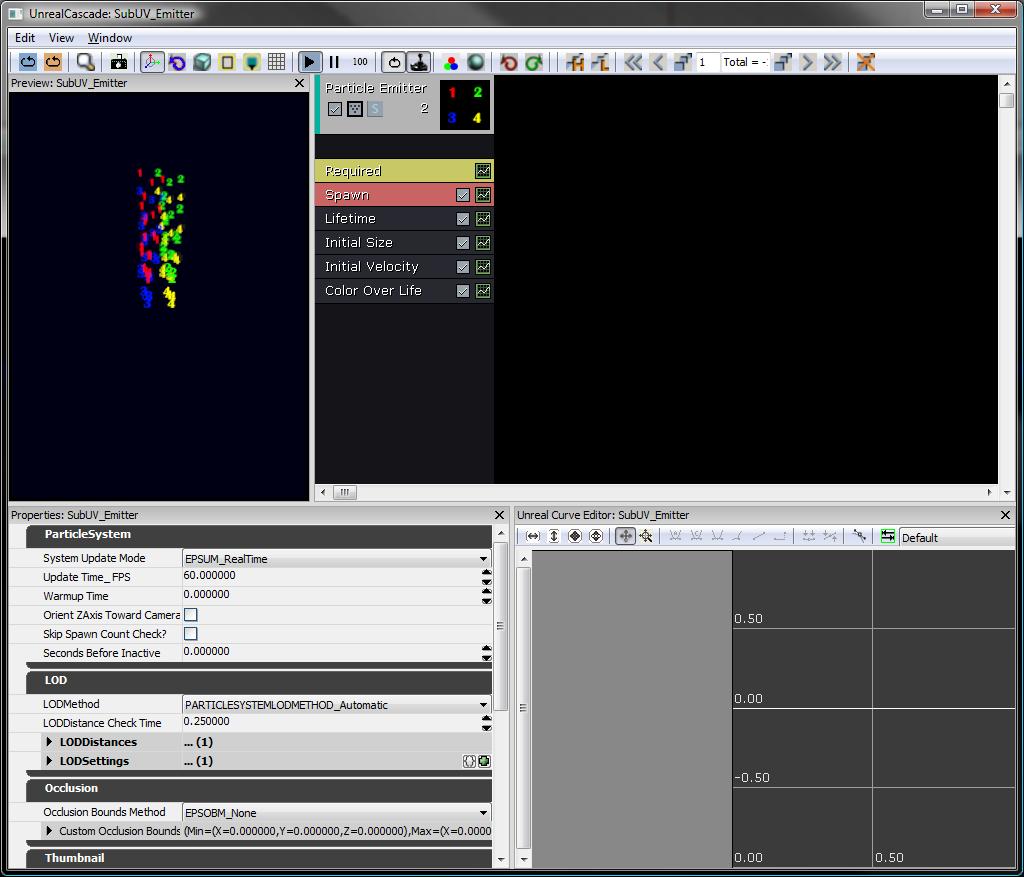 Located in the 'Required' class are the SubUV-related settings: the InterpolationMethod, and the Horizontal and Vertical sub-image counts for the texture.
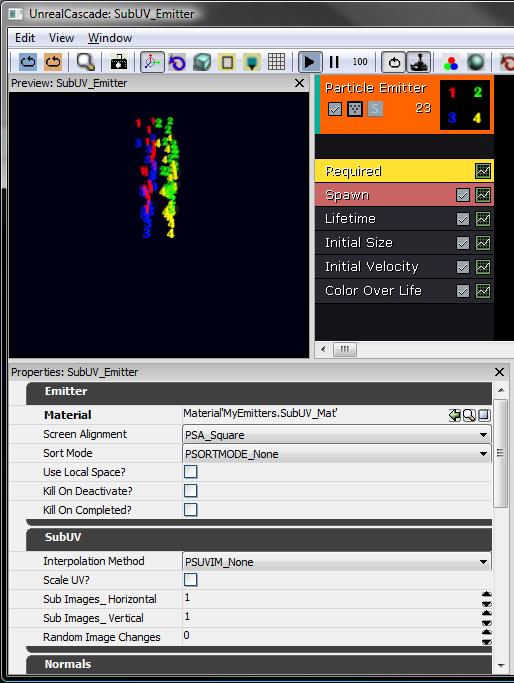
Setting up the SubUV parameters
| SubImages_Horizontal | 2 |
| SubImages_Vertical | 2 |
| InterpolationMethod | PSSUV_Linear |
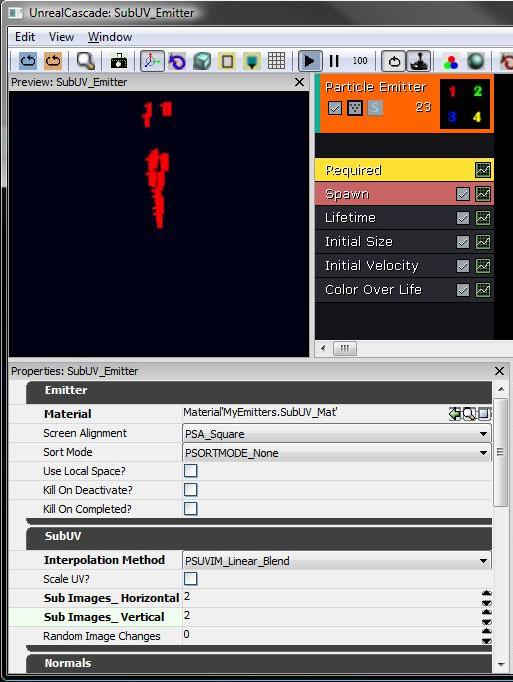 As you can see, the emitter is selecting the `first' sub-image for the supplied texture, as the default sub-image index will be a constant 0.
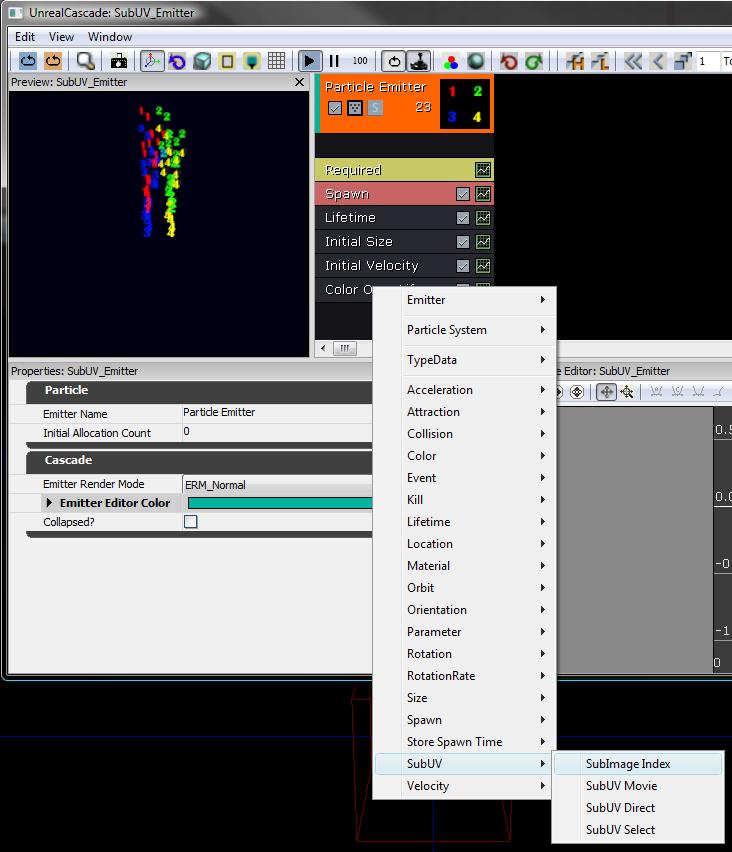
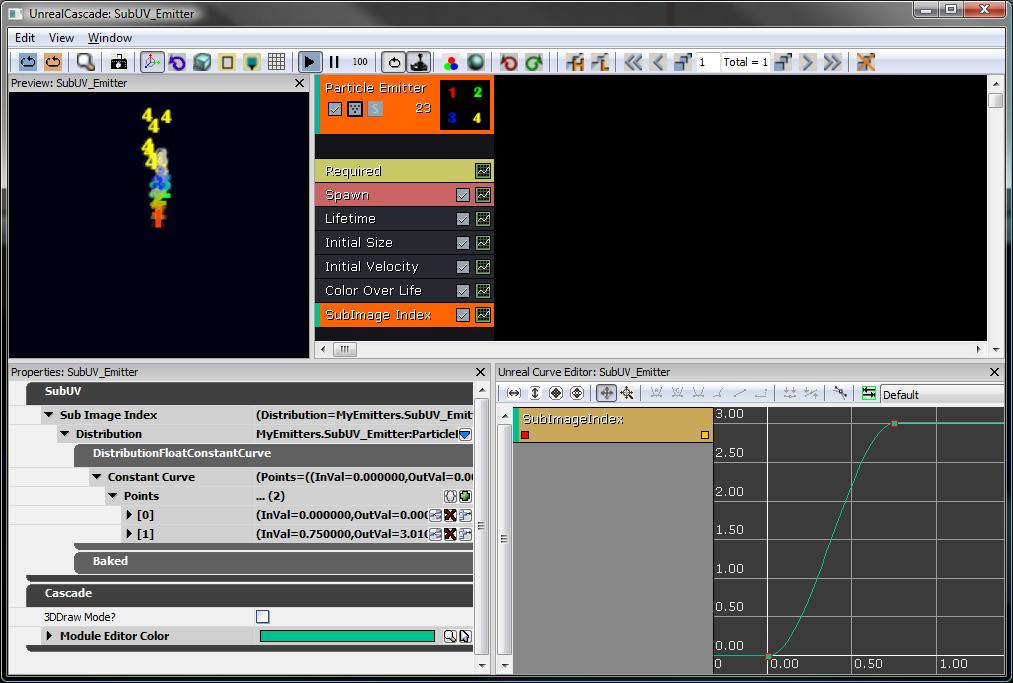
Setting the SubImage Selection
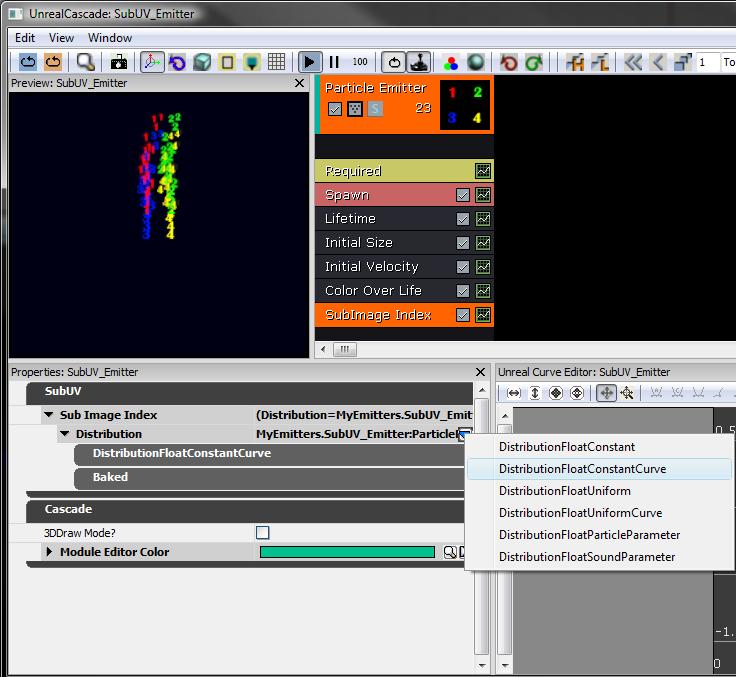
 Switch the distribution to a Constant Curve by clicking on the blue arrow and selecting it from the list.
 Click on the small green 'graph button' on the SubImage Index module of the emitter to add the curve to the curve editor.
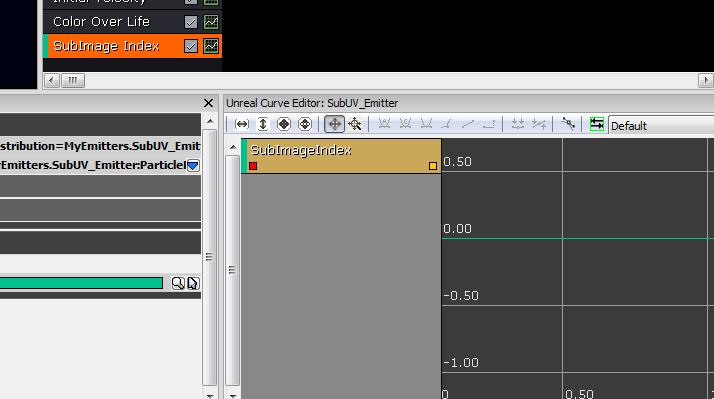 Add a curve with data points at the following increments:
| Time | Value |
| 0.00 | 0.00 |
| 0.75 | 3.01 |
 The MyEmitter package is available here.
